Week 12 - Molding and Casting
Group Assignment
During week 12, we learned about molding and casting techniques. Molding is the process of creating a replica of an object by making a mold of it, while casting is the process of pouring a liquid material into the mold to create the final object.
We started by learning about the different types of molds, including one-part, two-part, and multi-part molds. One-part molds are used for objects with simple shapes, while two-part and multi-part molds are used for more complex shapes.
Next, we learned about the different types of casting materials, We start by going through CMB Kemapoxy 150 3D Technical Data Sheet ,Then we try to make a mold from Amany's mold to get familiar with the mixing ratio and safety precautions.
One of the most imported thing is to follow proper safety guidelines:
- Using a proper glove to handle chemicals.
- The use of eye protection.
- The use of respirator if not then to be in a well ventilated area.
- Stay away from any fire source.
- Proper disposal of chemicals after use.
.jpg)
.jpg)
Individual Assignment
Now we would making our own Mold, we would start with designing
CAD
I used the joystick design from week5, I spilt it into 2 halves, added the pouring and the air vent opening, added the alignment pins in each corner.
Milling
I used modela player4 software for milling process, For the roughing process, I utilized a 3.175mm square endmill, which allowed me to effectively and efficiently remove excess material. As for the finishing process, I employed a 2.38mm bullnose endmill to add the final touches and achieve the desired level of precision and detail. By selecting the appropriate endmills for each stage of the process, I was able to optimize the overall quality and accuracy of the finished product. lets start by selecting the material and set the origin.
.jpg)
.jpg)
.jpg)
.jpg)
.jpg)
.jpg)
.jpg)
.jpg)
.jpg)
.jpg)
.jpg)
.jpg)
.jpg)
.jpg)
.jpg)
.jpg)
.jpg)
As shown in the previvors picture, I had a problem with my first try, so i repeated the process again to to get a better result on the left.
Molding
I made silicone mold by using 40g of silicone to 2 g hardener with 20:1 ratio by weight.
.jpg)
.jpg)
Then i maxed them together and pour it into the wooden mold & leave it to harden, We also learned about the importance of using release agents to prevent the casting material from sticking to the mold. Release agents can be made from a variety of materials, including wax, petroleum jelly, and cooking spray.
.jpg)
.jpg)
.jpg)
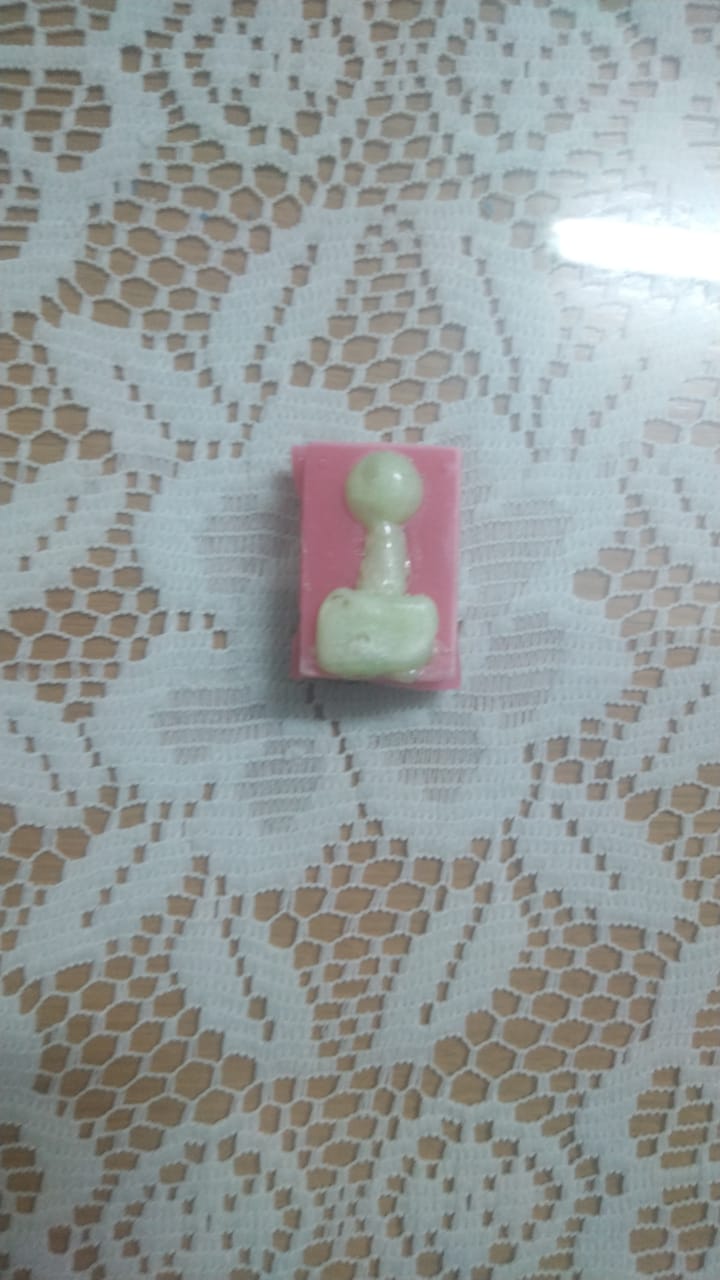
Its time to see the final mold
.jpg)
mixed the epoxy I used 9 gm of epoxy & 3 gm of the hardener to satisfy the 3:1 ratio by weight
.jpg)
The output was disputed, because the rod of the joy stick was too thin to allow the materials flow through it.
.jpg)
Finally, we practiced making our own molds and casts using a variety of materials and techniques. This was a fun and creative process that allowed us to experiment with different colors, textures, and shapes.
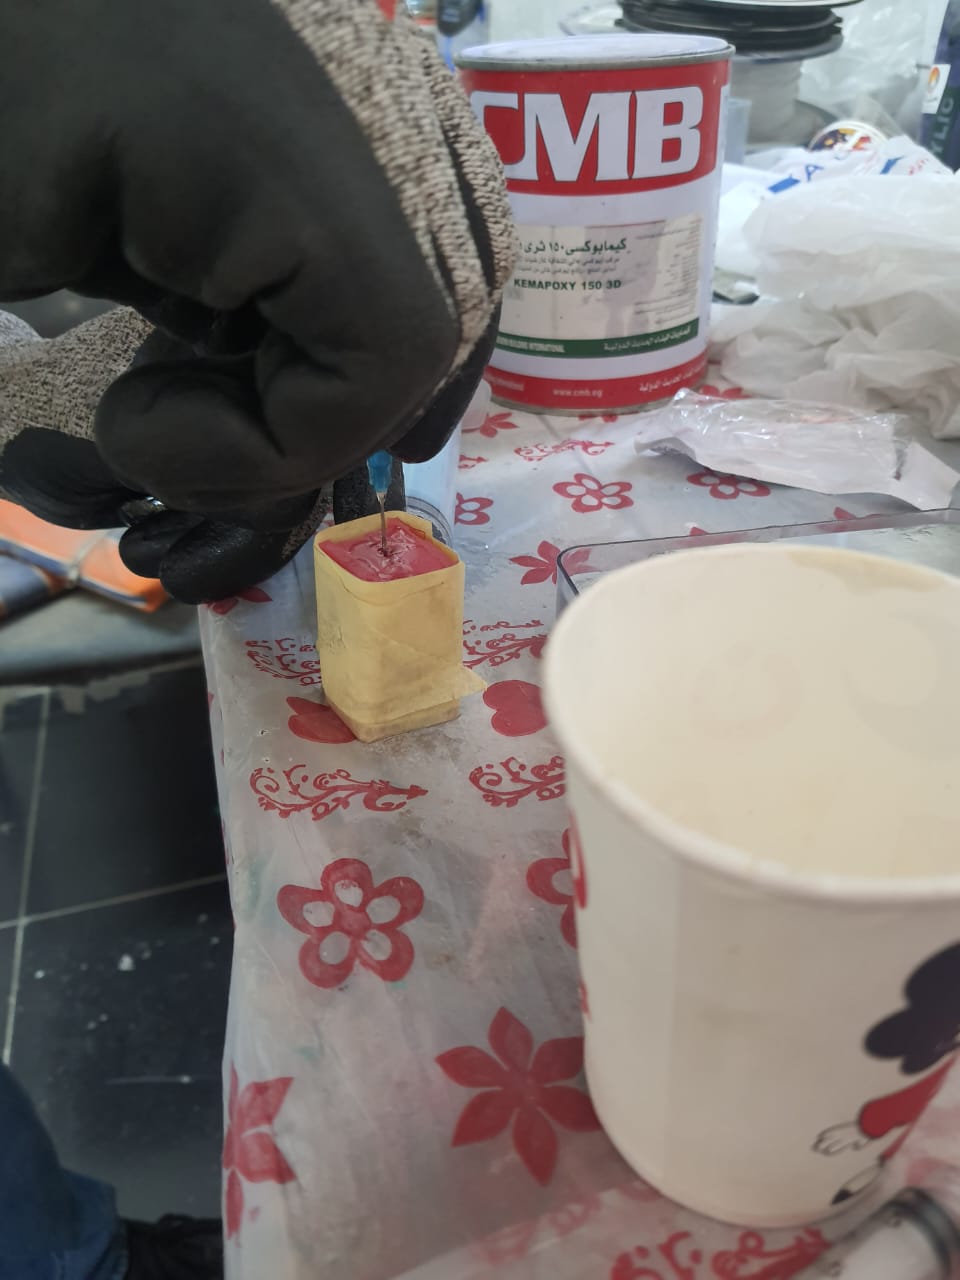
I repeated the same steps again using injection to fill the mold with resin,Overall, week 12 was a great opportunity to learn about the molding and casting. We gained valuable skills and knowledge that we can apply to future projects and creative endeavors.
Solving mold problem
I tried to use injection to feed the thin parts with resin
.jpeg)